Build a blog with Hexo
ㅤ
Setup
-
Install
Node.js.- MacOS: Download
Node.jsfromhttps://nodejs.org/. When you installNode.js,npmwill be installed automatically. - Ubuntu 20.04: Download them from command line.
1
2
3
$ sudo apt update
$ sudo apt install nodejs
$ sudo apt install npm
- MacOS: Download
-
When you install
Node.js,npmwill be installed automatically. -
Make sure you have
gitinstalled. -
Download Hexo’s framework using
npm.1
$ sudo npm install -g hexo-cli
Initialization
-
Make a new folder and navigate to it through terminal.
-
Initialize a blog with Hexo command line under the folder.
1
$ hexo init
-
Start a local server to host your blog.
1
$ hexo server
-
Now open a browser, and type
localhost:4000in address bar. You will see the blog that you just created!
Host the blog on Github
-
In order to have others see your blog, you have to find a place to host your blog. Here I suggest using GitHub page, because each Github account can have a free domain ending with
github.io.
npm install hexo-deployer-git --save -
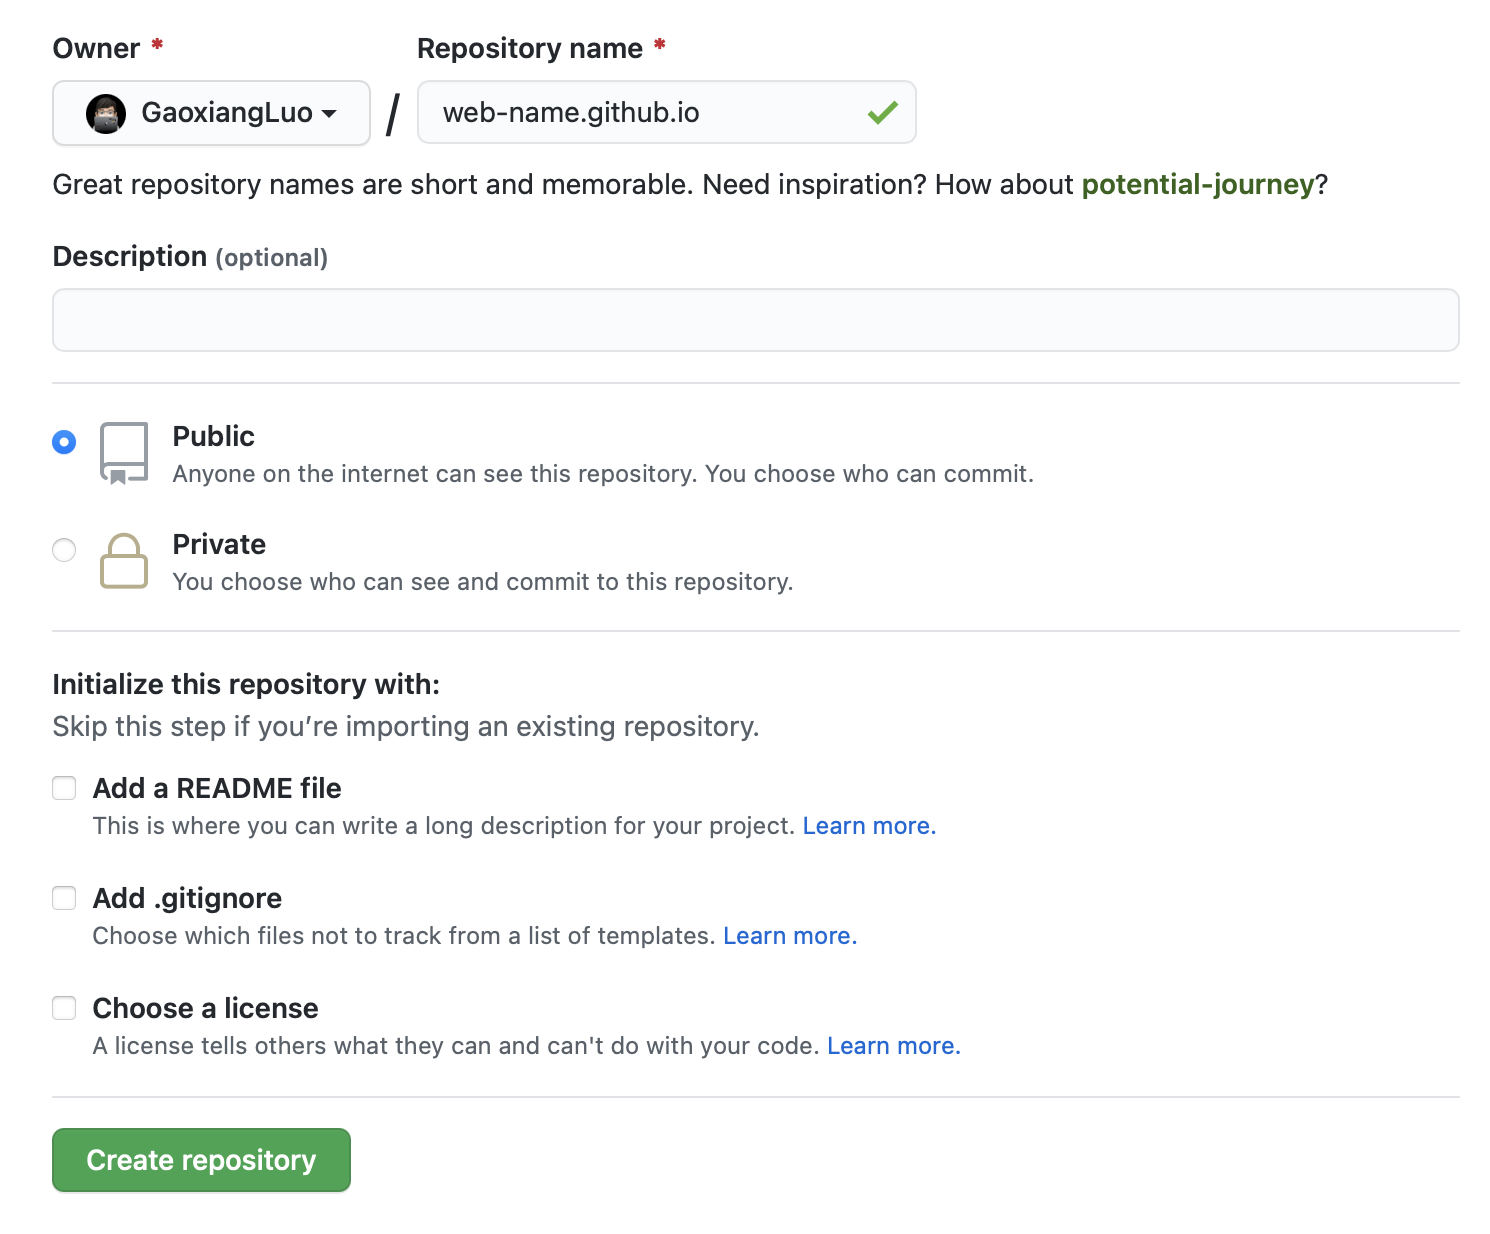
Go to Github, create a new repository and name it
web-name.github.io(replaceweb-namewith the name that you want). Make sure the repository is public.
-
Open
_config.ymlwith your favorite editor, and configure it as follows:1
2
3
4deploy:
type: git
repo: https://github.com/GaoxiangLuo/web-name.github.io.git
branch: master -
Deploy your blog onto Github, login with username and password if being prompted
1
$ hexo deploy
-
Congratulation! You blog has been published at
web-name.github.io!